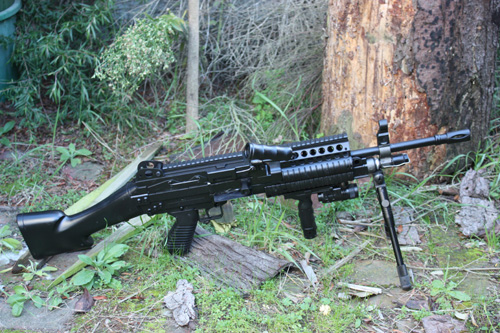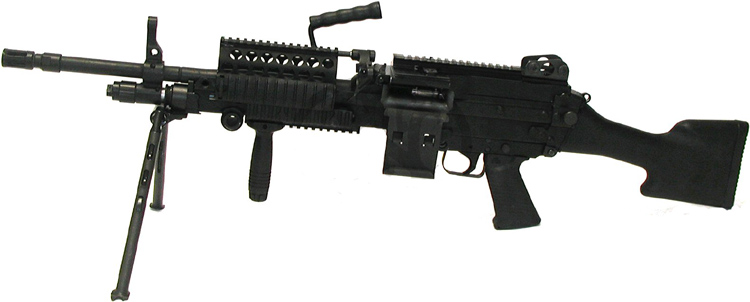
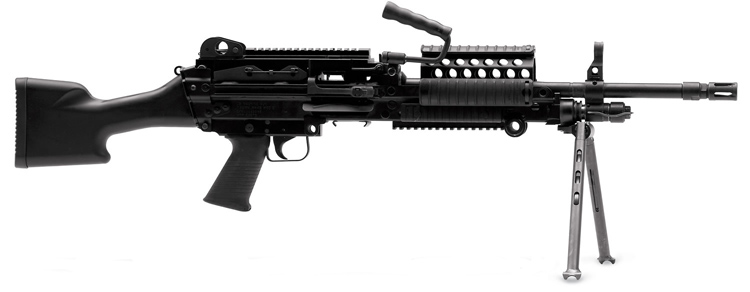
In the 1970s the US military looked to replace the existing M60
machine gun with a squad weapon in 5.56x45 NATO calibre. They decided the
Belgian FN Herstal Minimi was most suited and it was adopted as the M249.
US
Special Operations Command (USSOCOM) specified various adaptions which became
the Mk46 Mod0. They also specified the need for a 7.62x51 NATO calibre version
designated the Mk48 Mod0.
The NZ Defence Forces use the FN Minimi 5.56 but have decided to
upgrade to a 7.62 version, the FN Minimi 7.62 TR. Visually the main differences
with the Mk48 Mod0 are the sliding butt
and lack of rail above the barrel. There is also a Mk48 Mod1.
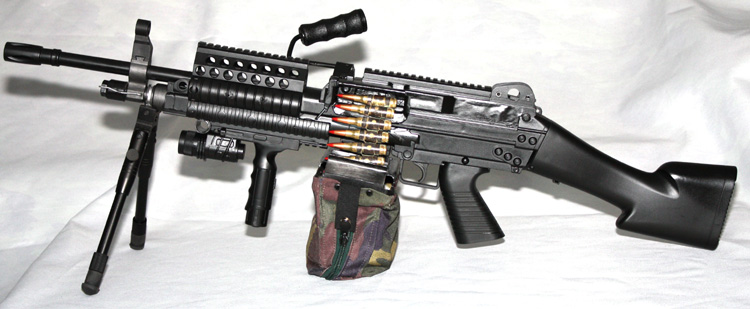
I purchased a cheap Chinese model that had some resemblence to
the Mk48 Mod0. Unfortunately it was only about 85% the size and some major
differences.
I decided to throw away any chance of having a working BB gun and
set to work.
The major differences were:
| 1. The charging handle was on the wrong side |
| 2. The scale meant it looked better suited for 5.56 rounds |
| 3. There was no carry handle (ok, some 'Para' models had a shorter barrel and no handle ... but this wasn't one of them) |
| 4. The gas valve was missing below the barrel ahead of the front sight |
| 5. The vehicle mounting lug was also missing under the barrel behind the bipod |
| 6. It had a standard assault rifle box magazine. Only the 5.56 Minmi has the capability of using box magazines as well as ammo belts. |
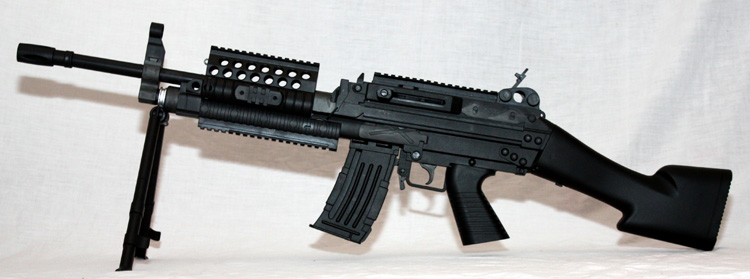
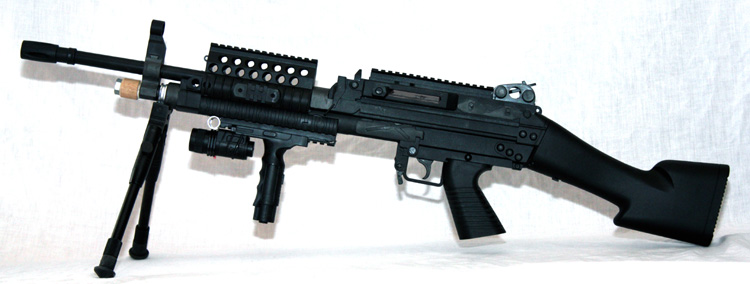
When I unpacked my new toy I broke the bipod within seconds of taking it out of the polystyrene packaging. Then I spent some time convincing the suppliers (ASGC) to send me the missing front grip/torch.
PS. Don't ever turn the torch on - it shows a changing multicoloured display like a snail disco.
By the time I received those I had
already trimmed the underside rail to fit a vehicle mounting lug, and created a
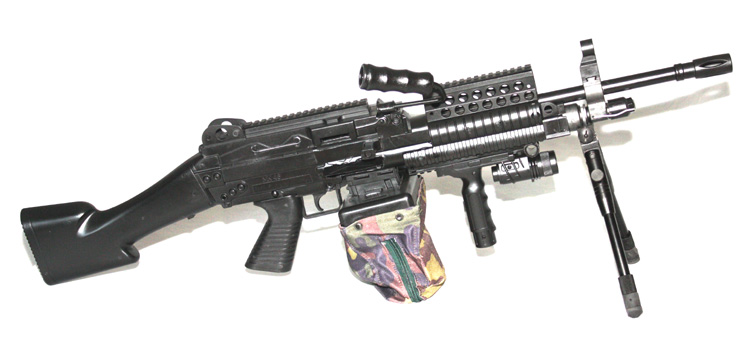
gas valve in front of the sight. I bought another thin bipod from TradeMe that
wasn't too different
from the original but which gave me a much greater support
- the original plastic bipod legs had bowed outwards under the weight !!
Mounting that was interesting and involved an aluminium insert to strengthen the
plastic where the bipod mount screws tightly. The new bipod is on the gun in the
right photo, above.
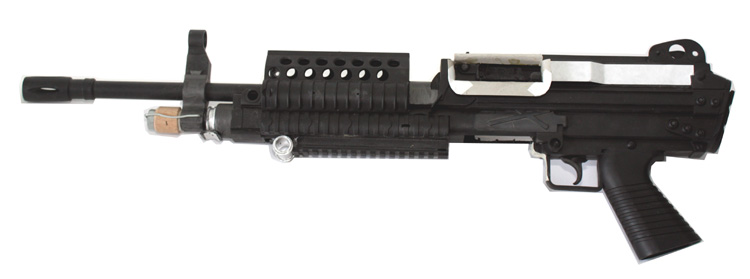
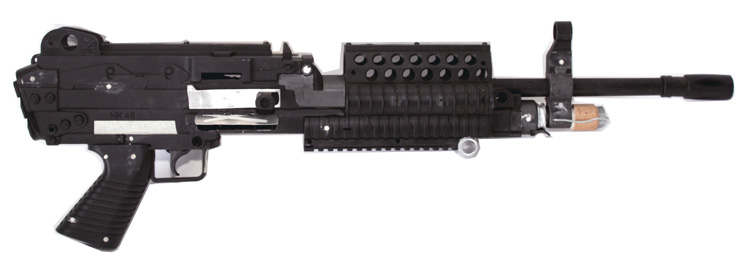
I machined back the raised patterns on the left side but stopped
short of removing the projecting slide that the charging handle used to move
along. I shifted the handle
to the right side along with some shaped aluminium
to stand in for missing parts. I routed a hole through the ejection flap on the
right and created a new flap
that I stuck out at about 65 degrees, even though
it would spring back flat in the real weapon after each casing is
ejected.
I also burred a hole above where the desintegrating links would eject from.
I also cut away the solid plastic ends of the top rail. In the
real gun this is a metal housing with holes and no ends.
Unfortunately in this
Chinese replica those solid ends help hold the gun together ... oops!
Various markings, like "MADE IN CHINA" and extra holes I created
were covered with a stiff tape to try and create a smooth surface to paint
later.
The ammo belt intake was carefully shaped in cardboard - it became just
too difficult in aluminium. If it fails at any point I will probably try
again with aluminium instead using the previous cardboard as a template.
I also removed the large knobs on either side of the rear sight. Some pictures of the real steel show them and many don't. I preferred them without...
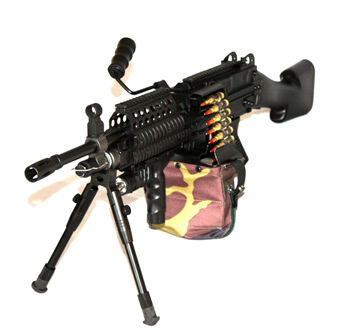
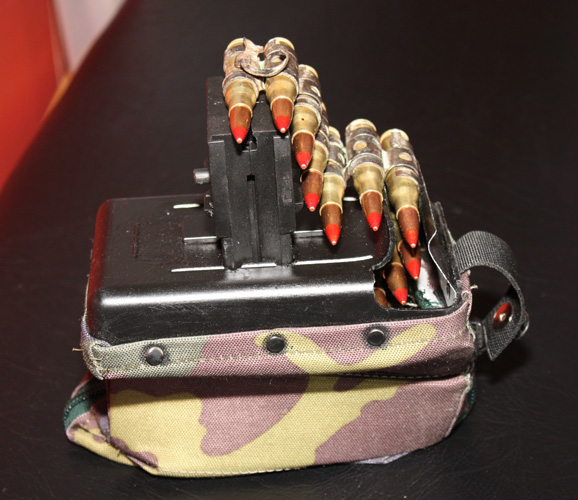
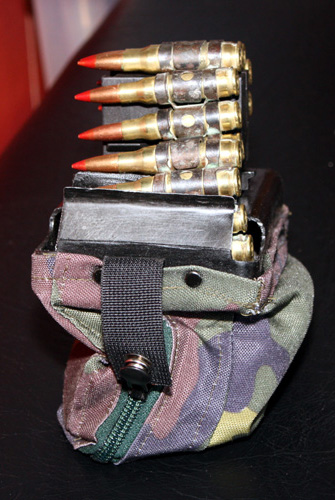
I decided to make a handle and a 100-round pouch magazine. I had acquired a 100-round pouch for a Minimi which was for 5.56 and so too small to use. However it gave me the necessary detail to make my own.
For the pouch magazine I found a plastic container ('Cuisine
Queen' 2.2 litre) and the bottom matched the size and shape I needed. I cut it
carefully and used a paint stripping heat gun
to soften the plastic enough to
bend the way I wanted. It colled and hardened in that shape nicely.
Then I sewed
some camouflage material I had lying around (as you do!) with a zip and riveted
the bag I had made onto the plastic case. (See original parts below)
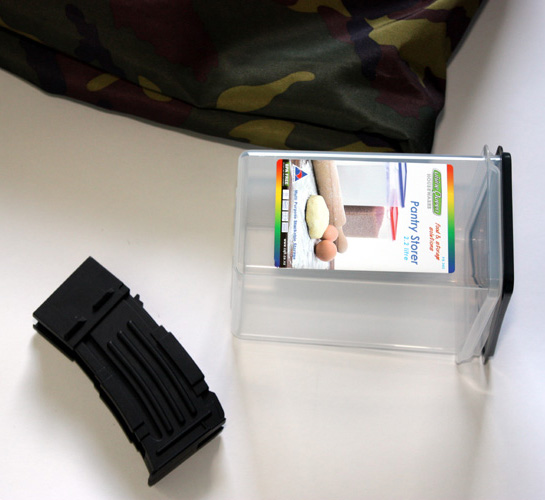
I then mounted it to the gun using the top half of the supplied
box magazine because it already fitted into the magazine hole, which shouldn't
be there anyway.
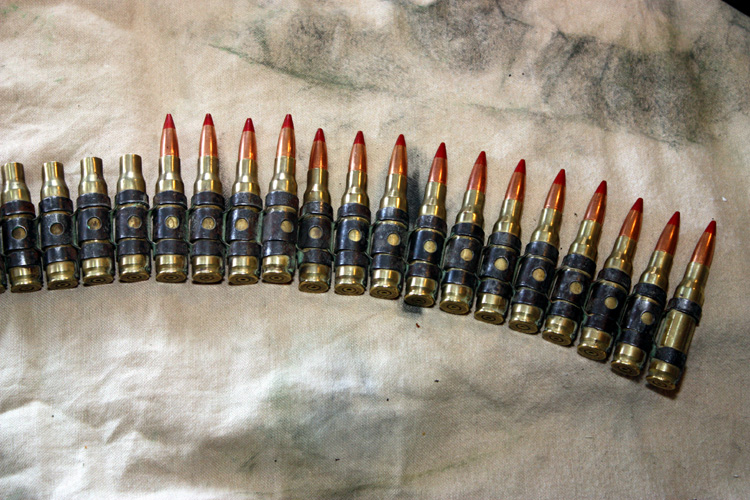
I did remember to remove the BB spring before cutting the
magazine in half! Add in some belted 7.62 NATO tracer rounds (red tip) and it
looks fairly authentic.
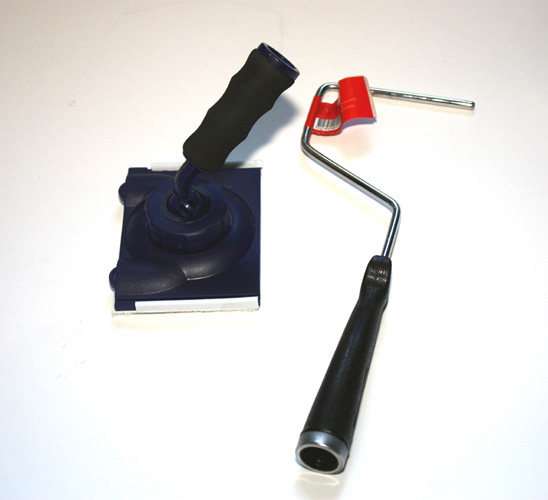
Then for the handle I used a speed paint brush handle and a shaped
rod from a replacement paint roller handle (see parts above). I need to reshape
the rod a little and create a plug
for inside the handle that would accept the
end of the rod to jam the handle onto one end of the shaped rod.
The handle was
mounted to the gun with a shaped piece of 5mm thick aluminium bar (not an easy
job to wrap it around the rod tightly).
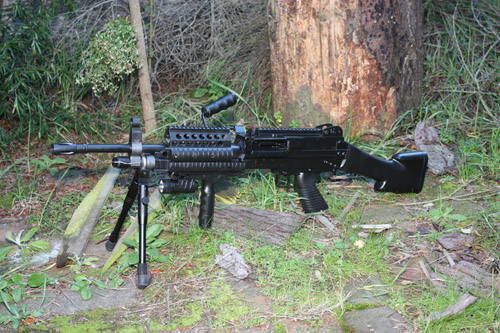
Then some paint - makes a huge difference. Unfortunately the photos highlight the uneven pieces of tape after painting whereas in real life they are hardly noticeable at all ...